Upgrading Raspbian Jessie to Stretch
06.07.2017
Operating Systems: Debian-based Linux
Language: bash / shell
Last Edit: 06.07.2017 - 14:33

What we are about to do
In this tutorial I am going to explain how you can upgrade your Raspbian Jessie to the new Raspbian Stretch. If you follow the steps below you will be
able to upgrade your system to Raspbian 9 without breaking it, as I am going to show some dangers and pitfalls you may encounter during the
upgrade process.
Usually I would recommend to do the whole process while being logged in locally to your Pi. But with a bit of caution you can also
do the upgrade over SSH if you run your Pi headless like I do. So let's get started!
Backing up your system
The first thing we need to do is to make a full backup of the current system. For this I usually shutdown my Pi, remove the sd card and plug it via a card reader
into my PC. Then I use the Win32DiskImager to read the whole card and save it into an image file on my hard drive. This will take a little while, depending
on your sd card size. In my opinion this is the best option to backup the system as you can just write it back onto the sd card in case you break something and it
will be exactly the same as before.
Starting with Debian Stretch the standard SQL database will be MariaDB (not MySQL). Your existing
databases will automatically be converted to the new binary format. This step is not reversible, which makes it all the more important to have a backup before proceeding.

Update, Upgrade, Dist-Upgrade
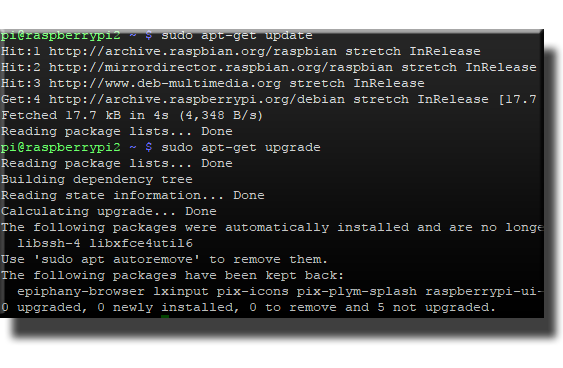
We will start with the usual update and upgrade commands:
sudo apt-get update
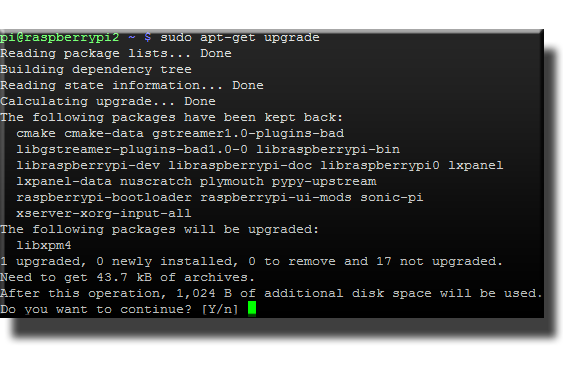
sudo apt-get upgrade
The output will show that some packages have been kept back. Usually you can ignore these, but since we are going to perform a full distribution upgrade, we will now upgrade those kept back packages with the following command:
sudo apt-get dist-upgrade
Checking your system
At this point you should check your system for any package related problems, as such problems could potentially cause the upgrade to fail or leave you with an upgraded, but broken, system. Start the check by issuing the following commands:
sudo dpkg -C
sudo apt-mark showhold
Both commands should return without any output. If that is the case, you can proceed to the next step.
If, however, you do get output on one or both commands, you should now take the time to examine the output lines and fix the problems they point to.
After fixing the problems, run the above commands again to verify you now get no more output from them, and then continue.
Changing the sources
Next we need to update /etc/apt/sources.list to point to the new stretch respositories instead of the older jessie repositories. This is pretty straightforward as we just need to exchange all occurrences of the word "jessie" with the word "stretch". While you could just open the file with your favourite editor and make the changes manually, it's more convenient to use this little sed command to make the changes:
sudo sed -i 's/jessie/stretch/g' /etc/apt/sources.list
Note that this command does not make a backup of your original file before altering it. If you are unsure what this command does, or if it does it the right way, please make a backup of the original file before executing the command or revert to making the changes manually.
Upgrading to Stretch
Now we are ready to upgrade our system to Raspbian 9 a.k.a. Stretch. Please read the section "Things to keep an eye on" below, before performing the final upgrade by issuing the following commands:
sudo apt-get update
sudo apt-get upgrade
sudo apt-get dist-upgrade
After these commands have been completed your new Raspbian Stretch system is ready to use!

Things to keep an eye on
During the last upgrade and dist-upgrade steps, you may be asked if you want to automatically restart each service as it is being upgraded. Just selecting auto-restarts worked fine for me.
But if you need exact control over when a service goes down for restart, you can select to be prompted for each service as well.
You will also be asked several times if you want to keep your local (and possibly modified) settings file or install the default one of the package provider. When this happens you need
to carefully consider what you want to do. If you have indeed made changes to the settings of the program currently being upgraded, it is quite likely that you want to keep these changes. To be absolutely
sure what the differences between your old file and the new file are, you can select to display a line by line comparison. You should take this chance to examine the changes and then decide how you want to proceed.
For example I chose to let the installer overwrite my old dhcpcd.conf file after I did the line by line comparison, because I found some new default settings in the new file which my old one did
not have. However after the whole installation process finished (and before rebooting), I had to add my static lan and wlan settings back into the file. If I had missed that step, I wouldn't have been able to log in to my Pi anymore as
the settings would have been gone.
The next problem I encountered was that fail2ban refused to start. After some digging (and completey removing and purging, then reinstalling fail2ban) I found out that my (locally modified) jail.local file was the problem.
To solve this I had to create a new jail.local by copying the provided clean jail.conf file to jail.local and then reapplying the changes I had made to the old one. After that fail2ban started as expected and worked fine.
Next I discovered that the wiringpi library was gone. A quick sudo apt-cache search wiringpi stated that no such package was available so I had to download and build it from GitHub.
UPDATE: wiringpi now shows up in apt-cache and thus should be able to get installed via apt-get.
The last and final problem I had after the upgrade was that VIM was showing some weird behaviour regarding the insert mode and the use of backspace while being in insert mode. The fix is quite simple.
Create a ~/.vimrc file and add the following two lines to it:
set nocompatible
set backspace=2
Since this file will not be read when using VIM via the sudo command you will also need to create this file for the root user. Execute sudo vim /root/.vimrc and add the same two lines to it.
